Products
-
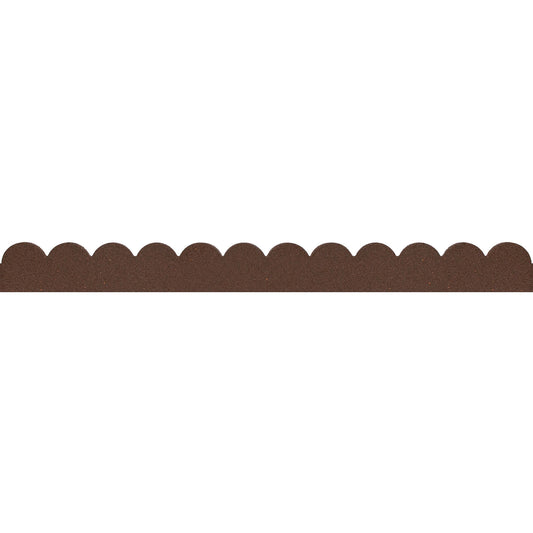
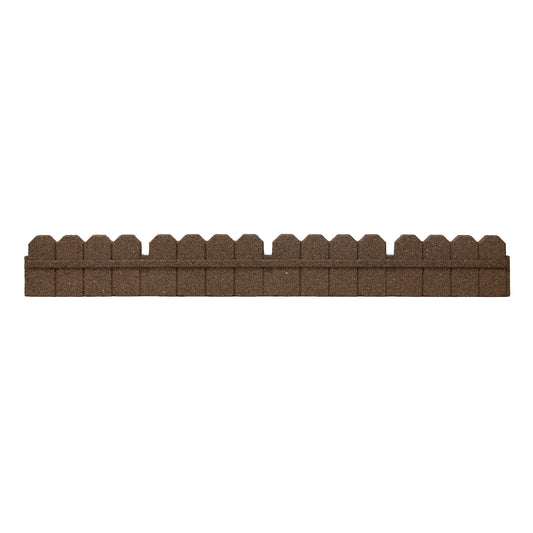
1.2m Recycled Rubber Lawn Edging - Flexi Curve Scallop - H10cm
Regular price £16.79Sale price £16.79 Regular priceUnit price / per£20.995.0 / 5.0
(47) 47 total reviews
Sold out -
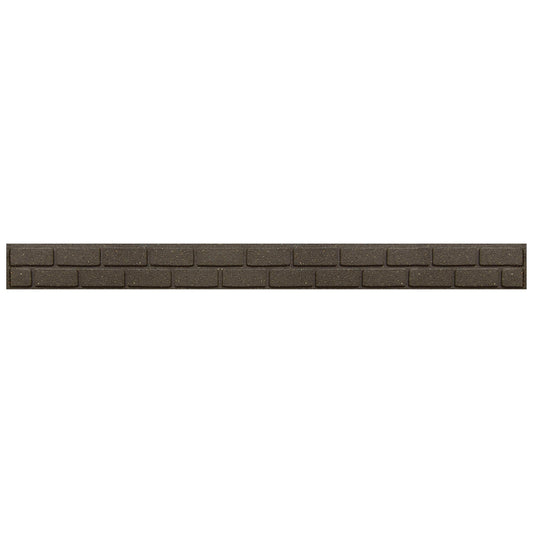
1.2m Recycled Rubber Lawn Edging - Ultra Curve Border Bricks
Regular price From £11.19Sale price From £11.19 Regular priceUnit price / per£13.995.0 / 5.0
(40) 40 total reviews
Sale -
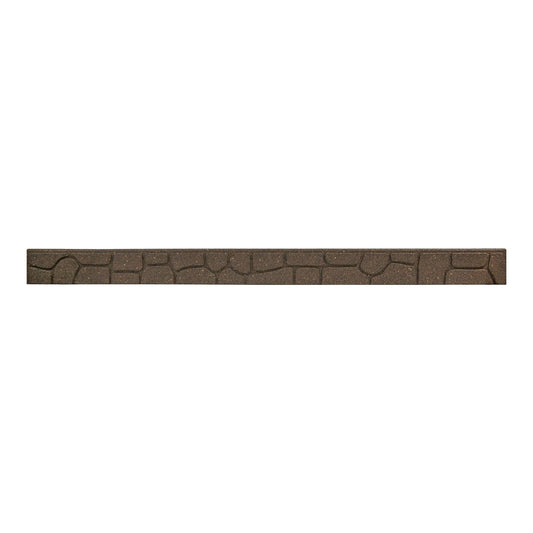
1.2m Recycled Rubber Lawn Edging - Ultra Curve Border Stone - H9cm
Regular price £11.19Sale price £11.19 Regular priceUnit price / per£13.995.0 / 5.0
(13) 13 total reviews
Sale -
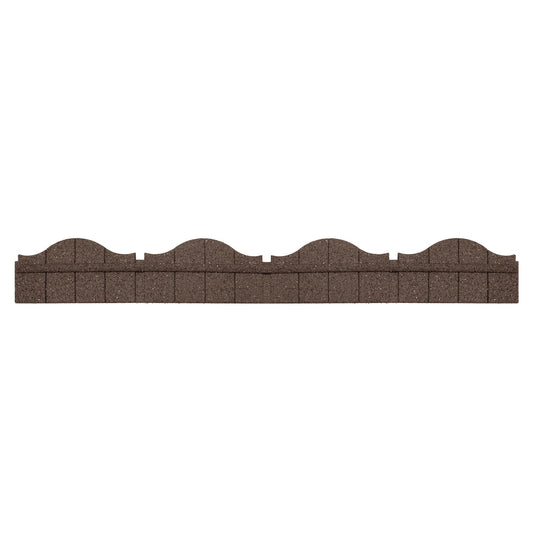
1.2m Recycled Rubber Lawn Edging - Ultra Curve Carolina - H15cm
Regular price £15.19Sale price £15.19 Regular priceUnit price / per£18.99Sale -
1.2m Recycled Rubber Lawn Edging - Ultra Curve Maryland - H15cm
Regular price £15.19Sale price £15.19 Regular priceUnit price / per£18.99Sale -
1m Bamboo Garden Edging - H15cm
Regular price £5.99Sale price £5.99 Regular priceUnit price / per£7.49Sale -
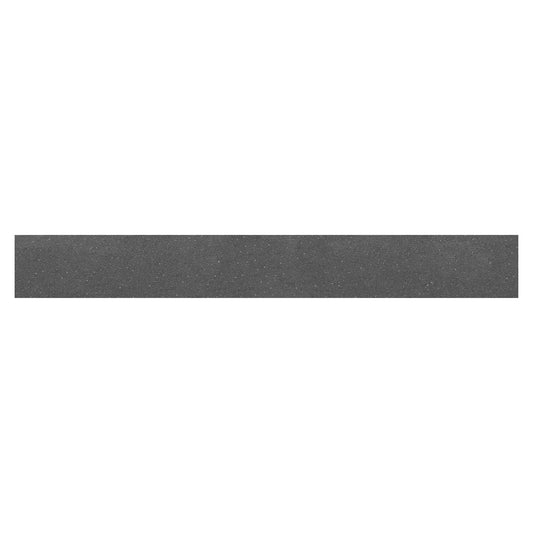
6m Recycled Rubber Flexible Lawn Edging - Border Thinline - H9cm
Regular price £20.79Sale price £20.79 Regular priceUnit price / per£25.995.0 / 5.0
(11) 11 total reviews
Sale -
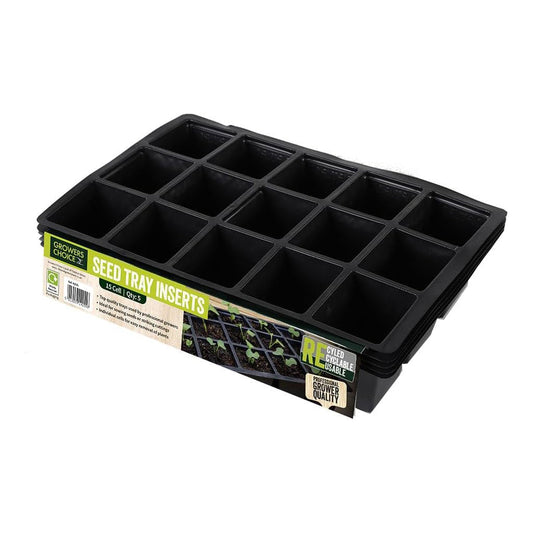
Bosmere 15 Cell Inserts x 5
Regular price £3.59Sale price £3.59 Regular priceUnit price / per£4.495.0 / 5.0
(1) 1 total reviews
Sale -
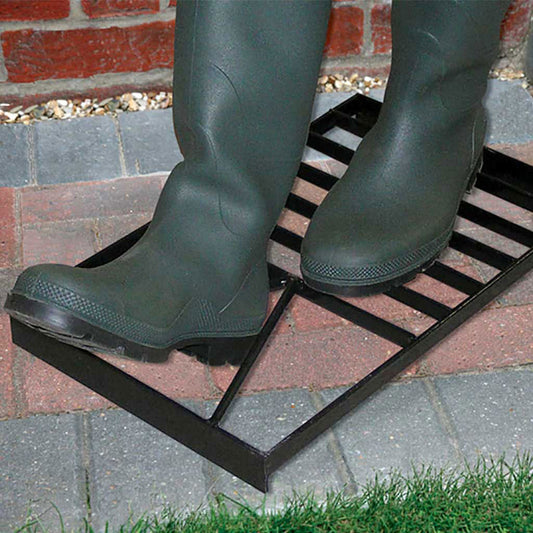
Bosmere Boot Grate with Boot Pull
Regular price £15.99Sale price £15.99 Regular priceUnit price / per£19.99Sale -
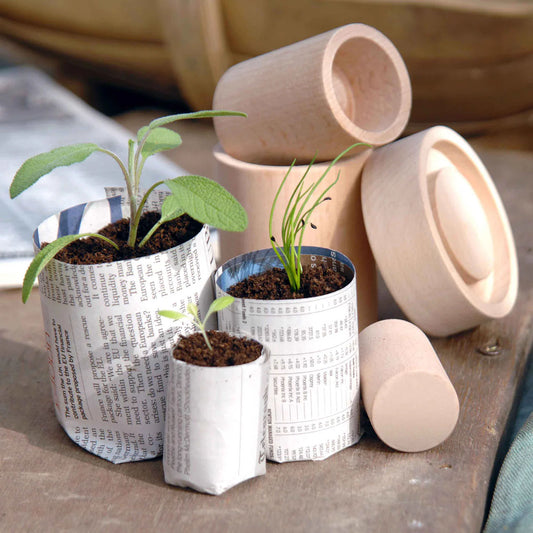
Burgon & Ball Eco Pot Maker
Regular price £9.59Sale price £9.59 Regular priceUnit price / per£11.995.0 / 5.0
(4) 4 total reviews
Sale -
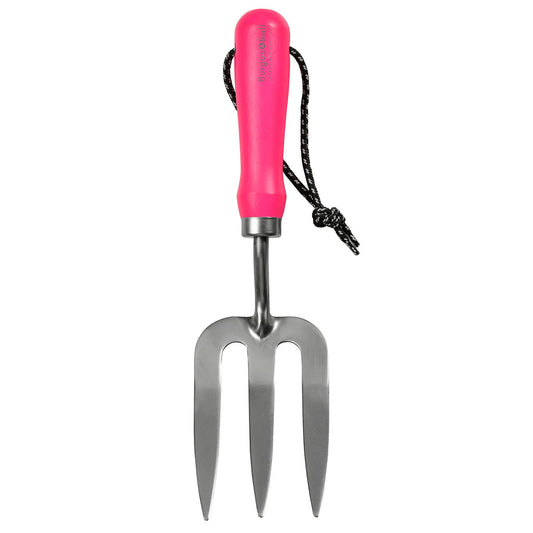
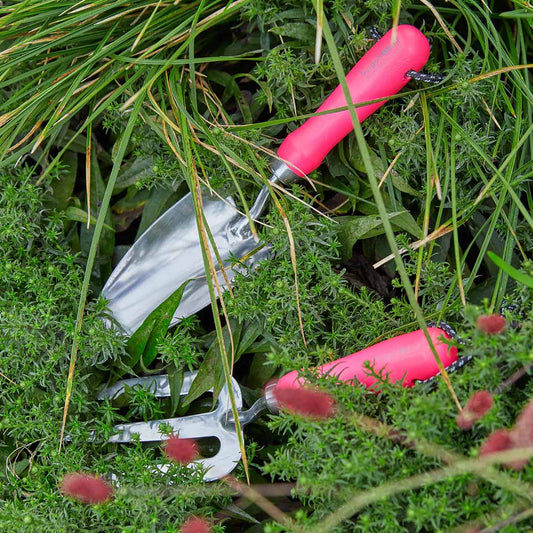
Burgon & Ball FloraBrite Hand Fork - Pink
Regular price £10.39Sale price £10.39 Regular priceUnit price / per£12.995.0 / 5.0
(1) 1 total reviews
Sale -
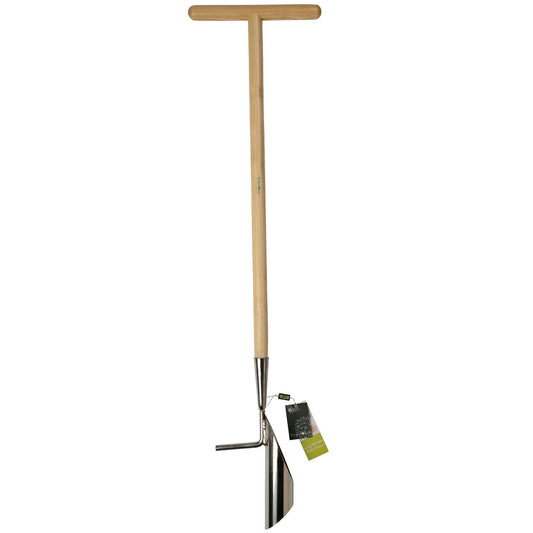
Burgon & Ball RHS Long Handled Bulb Planter
Regular price £27.99Sale price £27.99 Regular priceUnit price / per£34.995.0 / 5.0
(6) 6 total reviews
Sale -
Ellister 3 Seater Bench Cushion - Autumn Leaf
Regular price £13.59Sale price £13.59 Regular priceUnit price / per£16.99Sale -
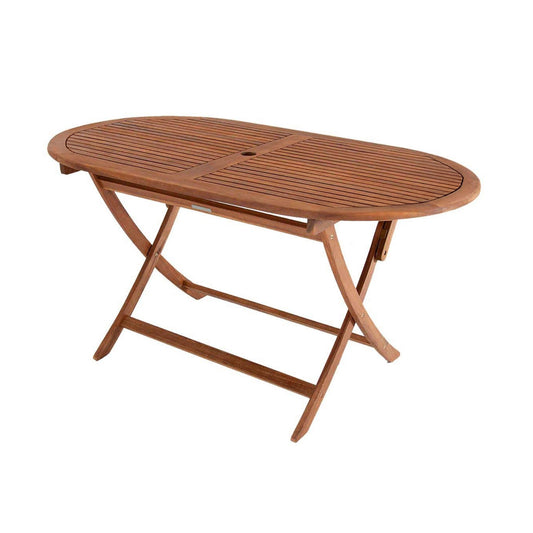
Ellister Portland 140cm Dining Table
Regular price £119.99Sale price £119.99 Regular priceUnit price / per£149.99Sale -
Ellister Rattan Effect Storage Box - 350L
Regular price £51.99Sale price £51.99 Regular priceUnit price / per£64.99Sold out -
Ellister Recliner Cushion - Bordeaux Stripe
Regular price £13.59Sale price £13.59 Regular priceUnit price / per£16.99Sale